

The Mantis 3D Printer has been built from the ground up to be the world’s easiest to use 3D printer.
The entire 3D Printing Process consists of 2 Steps… Select your file, and press “Print”.
With that said, there are advanced users out there who may wish to get “under the hood” of their Mantis 3D Printer to optimize the printing of highly complex components.
This resource helps clarify the process, and points out some of the key things to consider.
What do we mean when we say “Highly Complex Parts”?
In simple terms, we are referring to how many triangles a 3D model is made up of, not the physical size or shape.
3D models are saved as “.STL Files”, and .STL files are comprised of nothing more than tons of very tiny triangles - the more triangles that need to be calculated and processed, the more complex the job is for the printer.
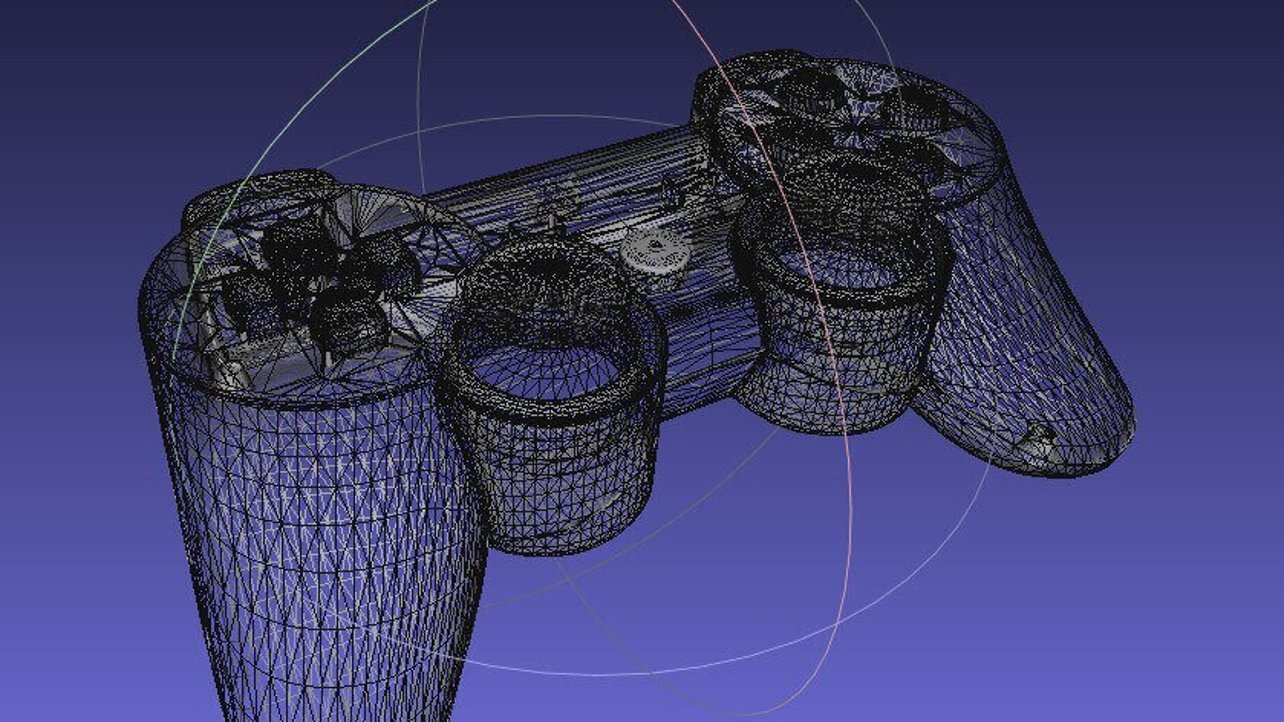
A Playstation controller, saved as an .STL file and represented as triangles
For example, imagine a triangular pyramid sitting on the print bed. It is a simple 4 sided object, and geometrically is simple for the Mantis 3D Printer to process and print.

For example, there are only 4 triangles in each of these examples above
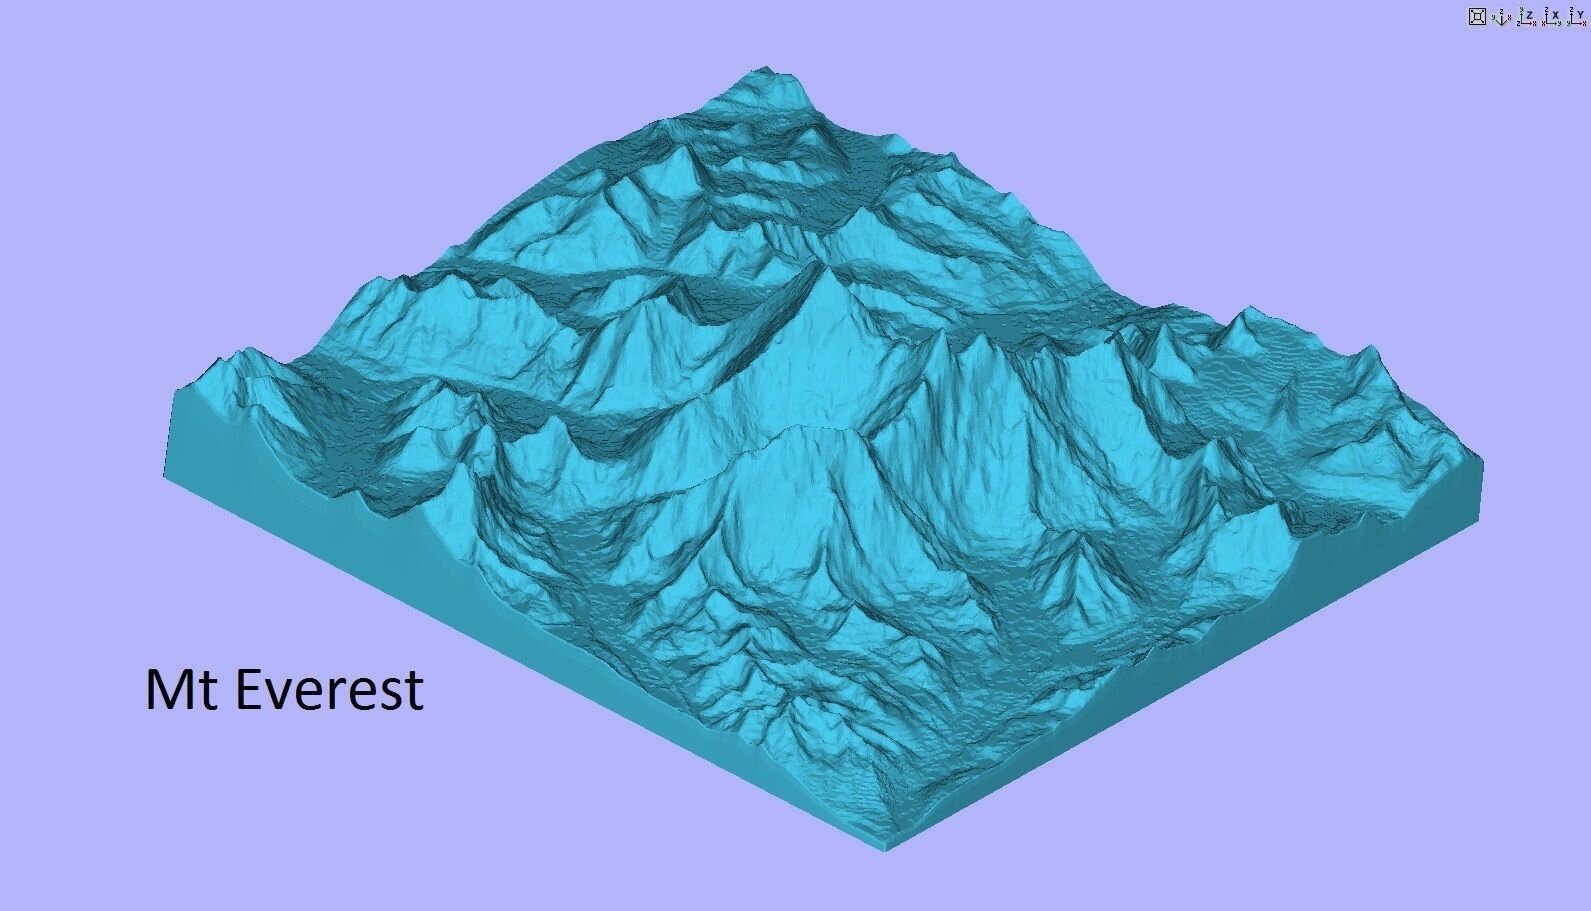
Now imagine 3D Printing a highly detailed model of Mt. Everest… there would be many different nooks and crannies, dips and dives… changes in curves, planes, and elevations… all of these variations require more triangles in order to be accurately depicted.
This castle is another example of a 3D Model that is “highly complex” because it requires so many triangles to accurately depict the design… in this case over 1.6 Million triangles!
What happens when THE MANTIS IS printing a highly complex model?
Since the Mantis 3D Printer is powered by a Raspberry Pi micro-computer that is pre-loaded with all the needed software… there is no need for an outside processor.
But if the file you wish to print is geometrically complex with many triangles, it may take a long time for the Mantis to successfully process the file for printing. In extreme cases, the Mantis may even time out while trying to process excessively complex .stl files.
There is a simple solution though…
Using G-Code Injection to Print Highly Complex Parts
If you are an advanced user, and wish to optimize your Mantis 3D Printer for your specialty application, you may consider G-Code injection.
By preparing your 3D Model in your favorite software programs and creating G-Code on a more powerful computer than the Raspberry Pi, you can save time and have more control over how your highly complex parts print.
Once you have created the G-Code in your favorite slicing program, the G-Code can be uploaded directly into the “Back End” of the Mantis 3D Printer.
By preparing your G-Code manually, you are able to yield more consistent and controlled results!
Software Recommendations
If you wish to pursue this route, we recommend using the 3D Model Software, Cura.
In these two videos, we explain what Cura is, how to install it, how to create Cura profiles for your Mantis 3D Printer, how to use it to prepare 3D files, and how to upload G-Code via Octoprint to your Mantis 3D Printer.
Please note, this is for advanced users only! If you have any questions, please reach out before you begin.