The Progression of the 3D Printing Movement Continues!

“3D printing is already shaking our age-old notions of what can and can’t be made.”

-Hod Lipson

3D printing was once thought to be a restricted platform only used for professionals and industrial prototyping but, it’s now affordable, sustainable, and has an abundance of free 3D modeling software available to anyone. With the 3D printing industry expanding, we can see home 3D printer usage growing more and more, due to factors such as affordability and ease of use. With the rise of owning a 3D printer, this gives everyone the power to create objects in the comfort of their home. 3D Printing has become a wonderful tool for people who are creative and want to produce from their imagination, to sell their creations, or even for people who want to reproduce objects that are no longer for sale or discontinued.

MATERIALS

In our current age you can find 3D Printers that can produce functional parts and print them in full-color. There are so many materials you can now print with such as: plastics, ceramics, metals, rubber, and even chocolate. As new materials continue to be discovered, there is no telling where 3D printing can take us. Many new ideas have been created as the progression of the 3D printing movement continues.

foooood.jpeg

3D PRINTING BEING USED IN MAJOR APPLICATIONS

3D Printing has moved into some of our major applications and already changed how companies will continue to work. We can find 3D printing integrated into product development, where products are being produced at a faster rate and has become more cost-effective due to 3D printing. 3D printing is also used in fields such as in architecture, where in the beginning stages of the design can be evaluated, communicated, and displayed, making visualizing the striking design easier. We have even seen the medical field utilizing 3D printing to aid patients with printing out models to help with informing about the procedure, giving them a chance to see and touch.

heart.jpeg

POSSIBILITIES

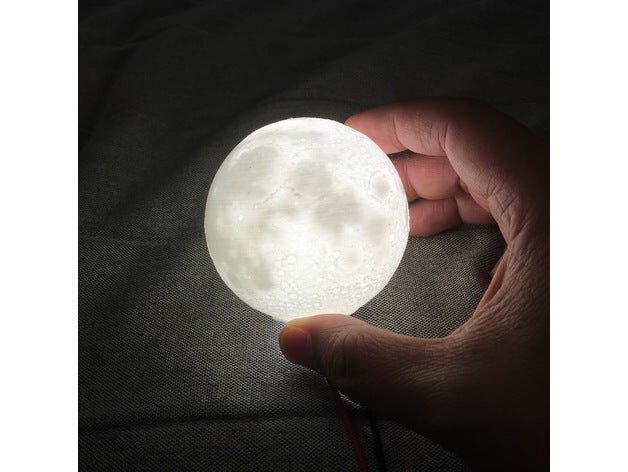
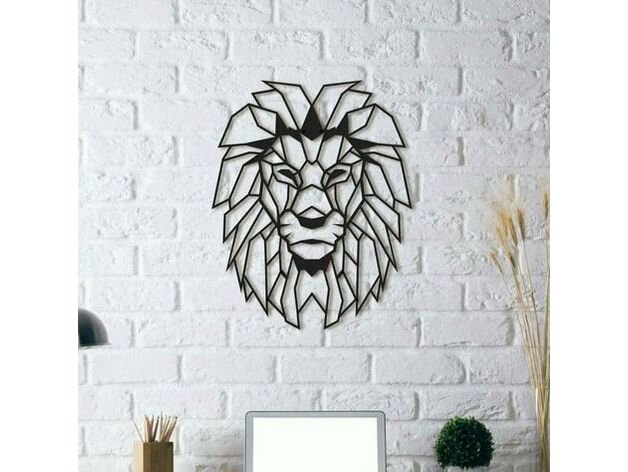
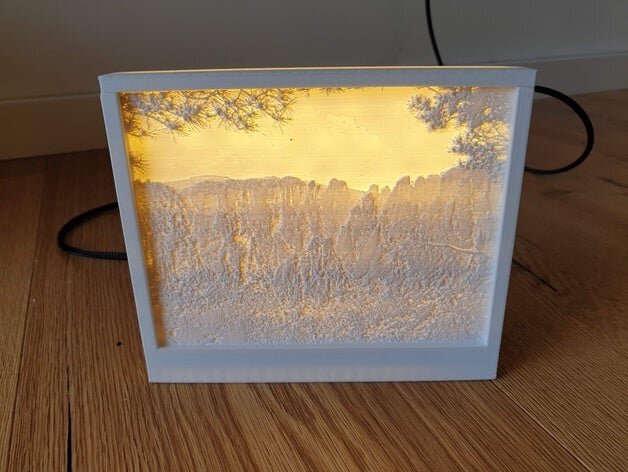
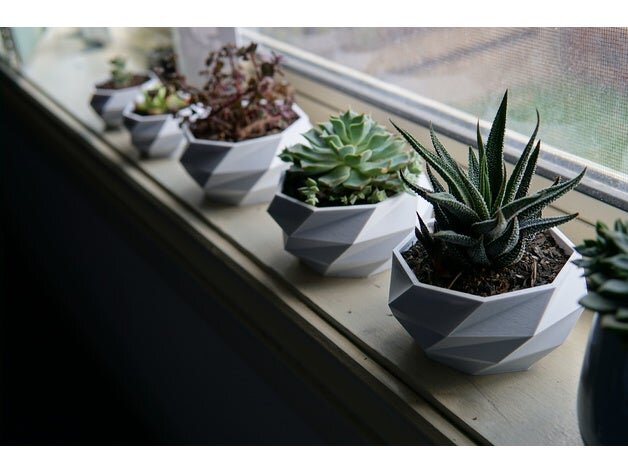
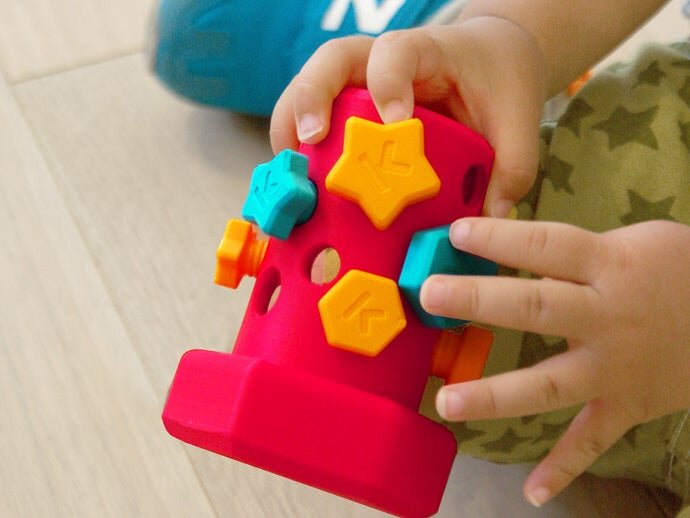
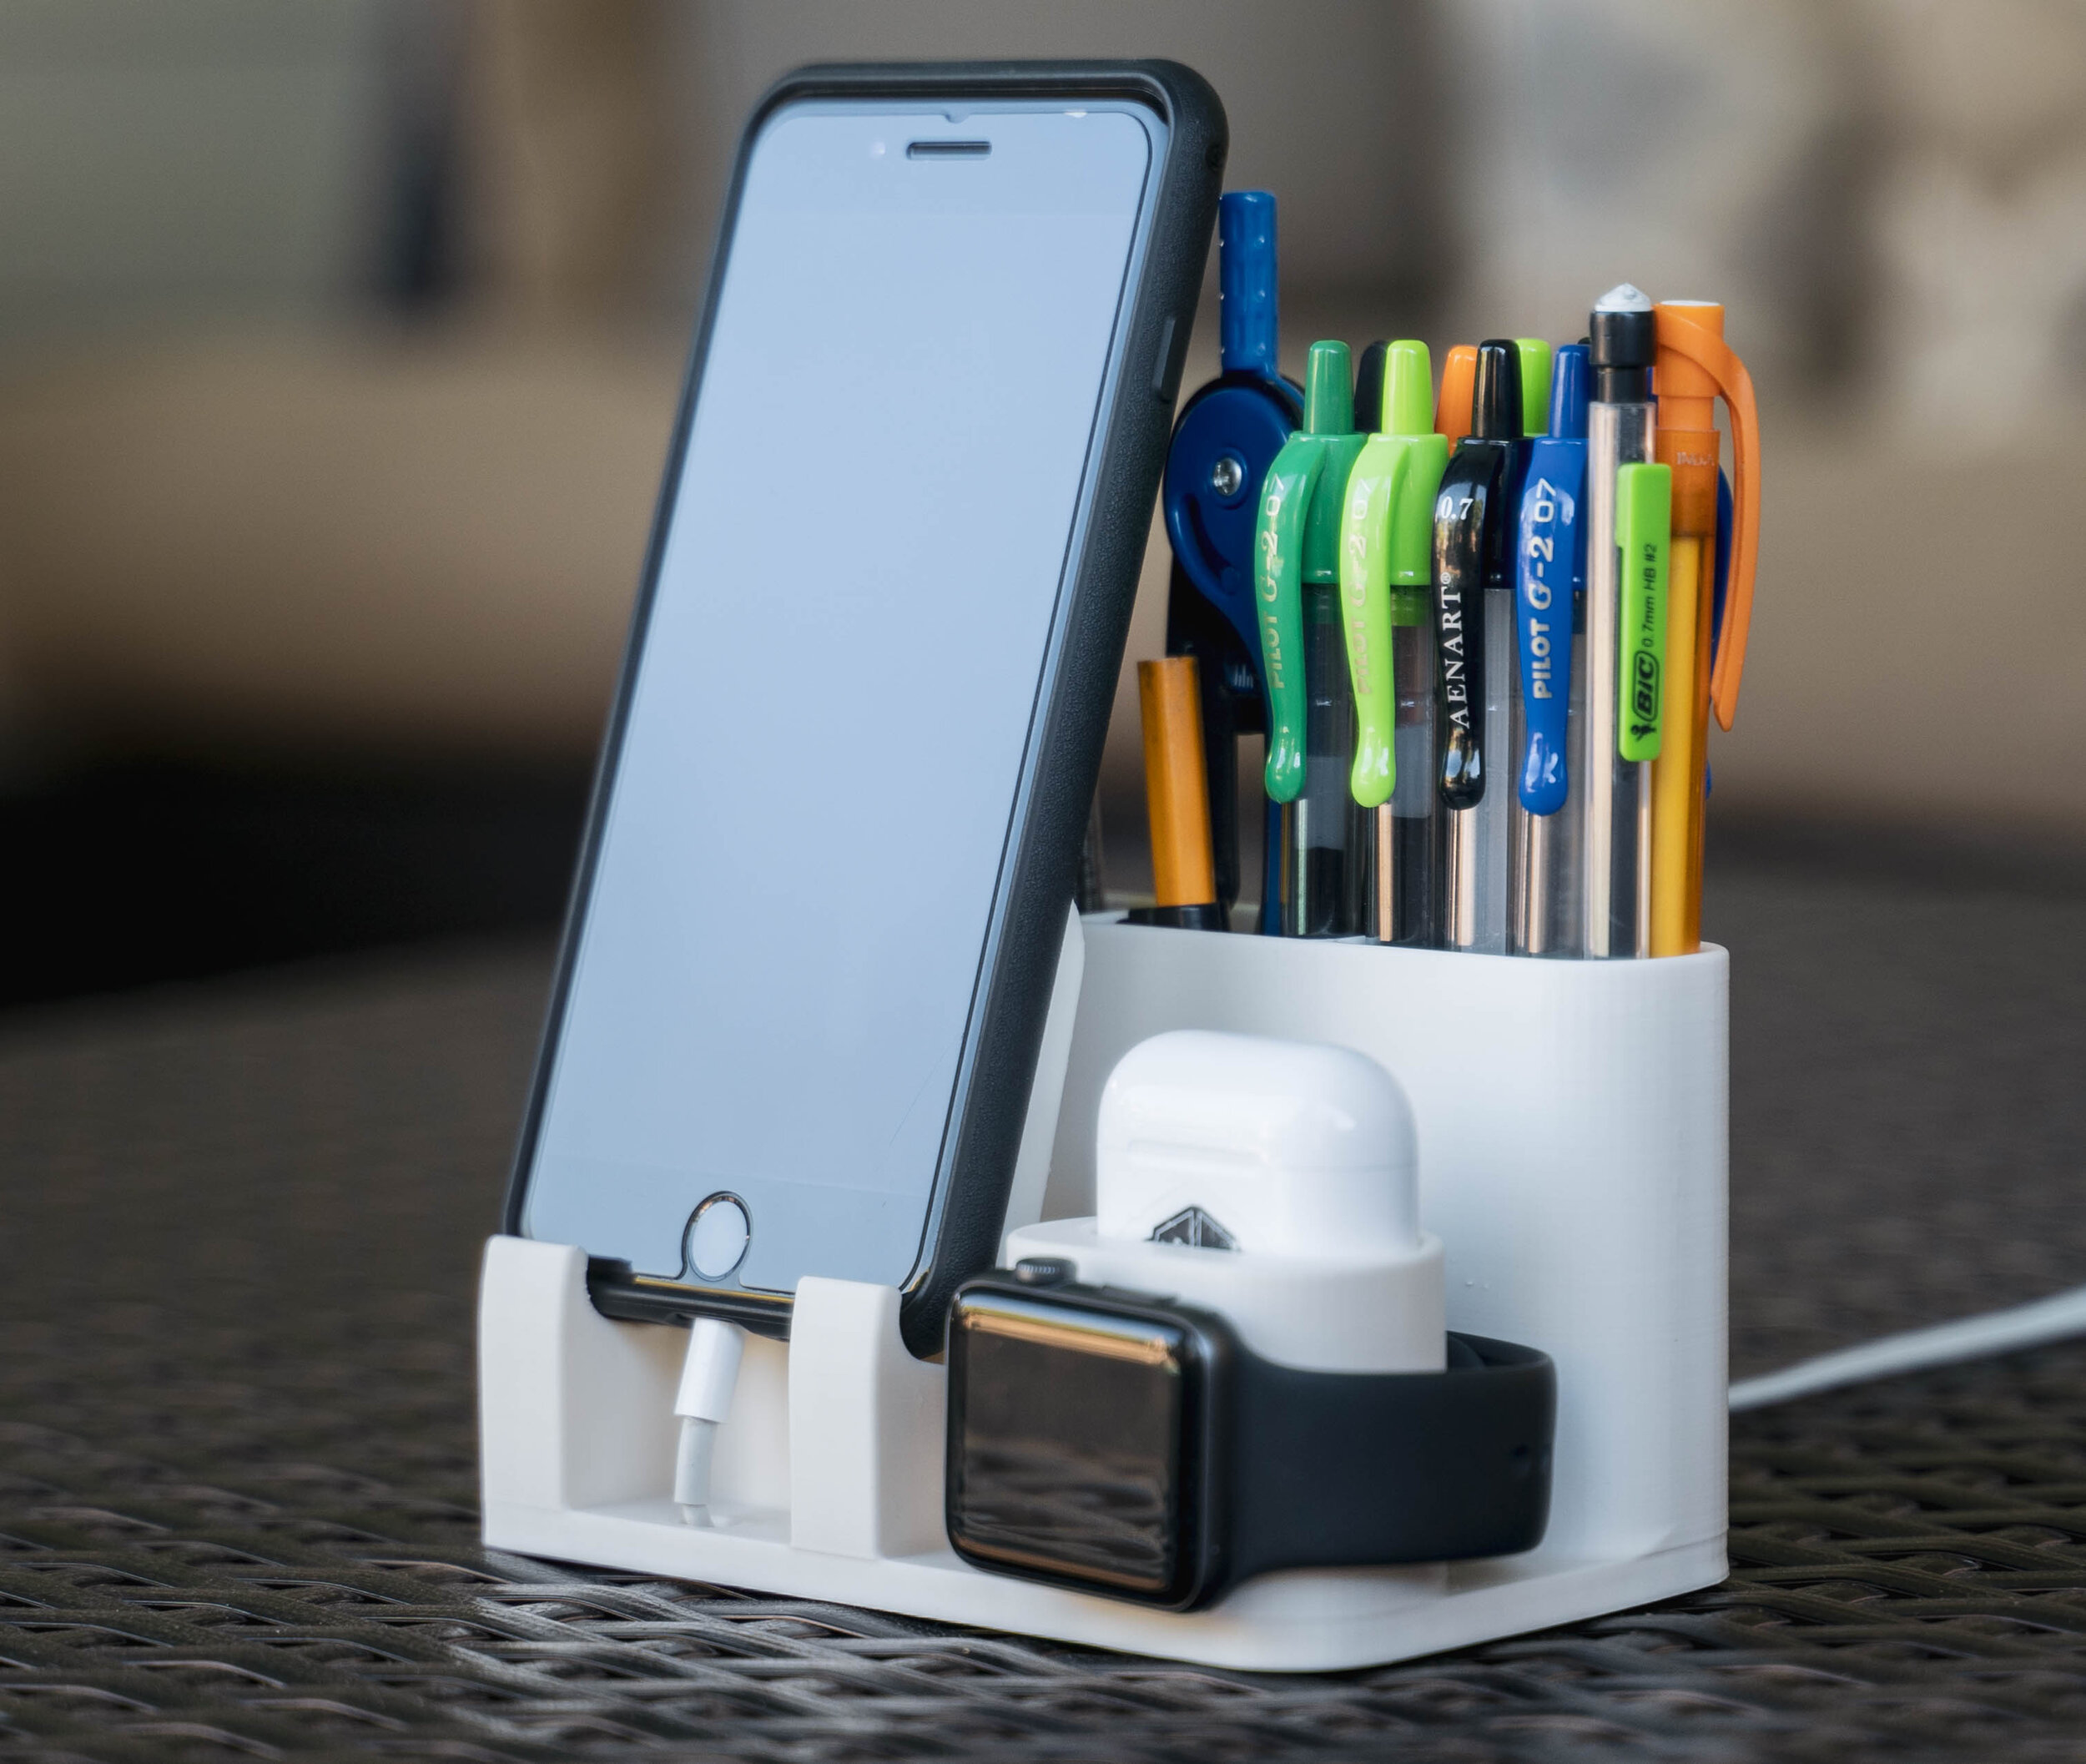
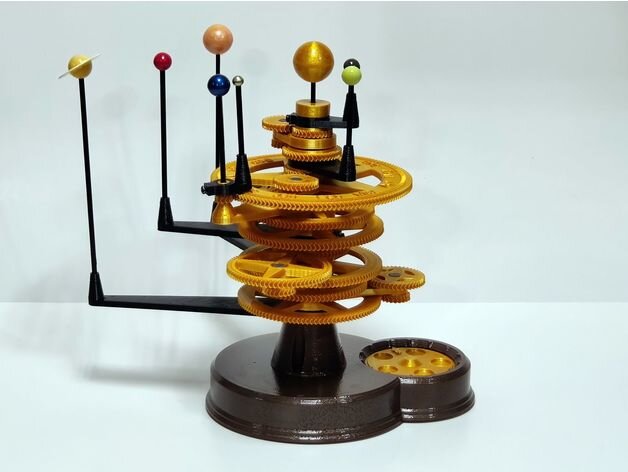
The possibilities are endless with the rise of 3D printing continues. The Mantis 3D printer greatest feature is “it’s as simple as a your 2D paper printer”. There is so much you can do with the Mantis 3D printer. Printing fun and functional designs and widgets is painless thanks to the Mantis’s design and innovation. There’s no better time than now to begin a journey into 3D printing. Curious? Check out the images below showcasing just a small sampling of what you could print with the Mantis.


3D Printed Project Inspiration

Becoming the Master of Printing from Thingiverse.

oww.jpeg

The world of 3D printing can be a large confusing place.

Determining which prints will print successfully can be frustrating especially if you’re new to the subject. The Mantis 3D printer’s best feature is, literally being the world’s easiest to use 3D printer. If you have received your Mantis 3D Printer, or if you are thinking about owning one, you are excited to step into the world of 3D printing and Thingiverse. But it’s now time to learn which prints will be successful on your Mantis 3D printer and which you should avoid.

As you look into Thingiverse and find the perfect 3D printable file you want to print, there are some things you need to keep an eye out for. Make sure that the file checks these boxes: 

  • Make sure the print doesn’t exceed the Mantis bed plate of 8” x 8” x 8”

  • Make sure your file size is less than 5 mb for the best and quickest processing time. 

  • Make sure you don’t have overhangs that can’t be supported

If you need an in-depth explanation, you can read it here at our past post: Understanding “Overhangs”: How to select files for 3D Printing

 
Picture1.png

Searching Thingiverse you will find hundreds of shared files. Let’s take a deeper look into the friendly articulated snail 3D print file , it’s fun and looks like an easy print that checks all the boxes stated above. 

Before you click, save, and start printing this cute little file, there are just a few other areas you want to check to make sure your print will be successful. As you scroll down through the file description there will be an area that has different categories about the print’s information. You’ll see how many files are in the print, other makes in the community, and comments. But you will be primarily looking at “thing details”, “comments”, and “makes”.

Screen Shot 2021-06-07 at 11.51.42 AM.png
 

Thing Details

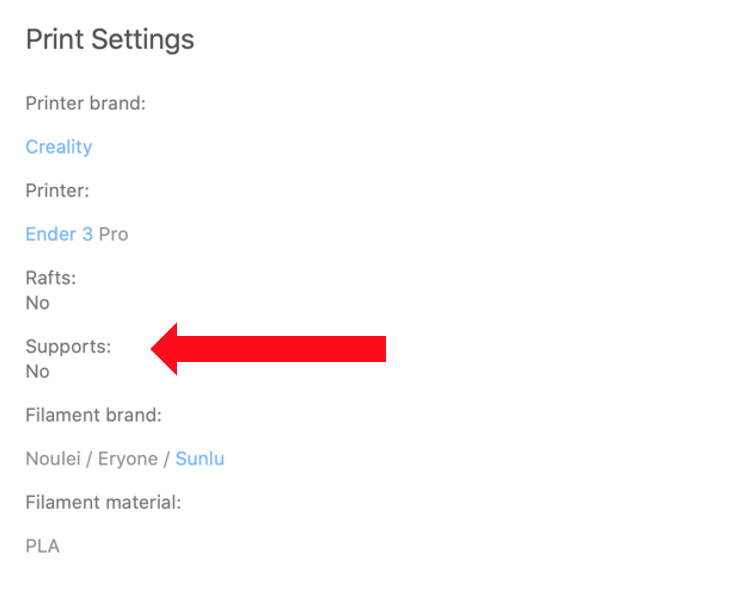
When clicking on “Thing Details” this is where the creator will put any useful information so that others can use the same settings to help make sure they can also print the same file successfully. Since the Mantis takes care of most of the settings we only really want to look and see if this file needs support or not. So, this user (and a lot of the others will do the same) has their print settings noted and we can see that under “Support” that there is a “No” from the creator, which means this print won’t need any editing into another program, like Cura, to add support.

Screen Shot 2021-06-07 at 11.51.48 AM.png

Comments & Makes

Finally, we want to check “Comments” and “Makes”, and typically when you look at the comment section you’ll see other users comment on the prints they made. When you look at this section you can see if the file was too small/big, settings are adjusted to improve the print, or if the file was simply an unsuccessful print. When looking at the makes section, you’ll find this to be a great section to look at not only to view print qualities from other printers but, it’s also a great source for inspiration. Many creators, after they get a successful print, will sand and prime their pieces and paint them so they can customize the appearance of their own prints.

Picture13.png
 

Following these tips will help make sure that you will get a successful print off of your Mantis 3D printer. Happy Printing!


Using "Tree Supports" for Complex 3D Prints

Today we’re going to share some useful information about “Tree Supports”, a type of 3D Printed support structure that is economical with filament usage, relatively easy to remove, and can open a whole new world of 3D Printing possibilities.

We’ve covered “The 45 Degree Overhang” rules in a past blog post.

When you want to 3D Print a design that contains unsupported overhangs, using tree supports is a great way to achieve a successful outcome.

We recently completed a large 3D Printing initiative tied to our long-term “T-60 Armor” Project.

Using Tree Supports was a huge part of how we successfully printed all these complex parts! In this video, David explains more about how Tree Supports were used.

Important Note: This resource is for advanced users only.

In order to generate Tree Supports, you must use a program called Cura to generate the supports, and then manually upload G-Code to your 3D Printer.

Please visit our Maintenance Guide for tutorial videos on how to use Cura.

This is meant for Expert level users, with Advanced applications. It is straight forward for experienced users, but not recommended for new users.

Please understand that we cannot offer the same levels of customer support to users who are uploading custom G-Code. There are more details in our Customer Support Policy.


The 3D Printer Buyer's Guide 2021

Are you confused about which 3D printer is best for you?

We break down what a new user should consider when shopping for a new 3D Printer.

Are you interested in buying a quality desktop 3D Printer at an affordable price, but not sure where to start?

This guide was created to help beginners answer the question, “Which 3D Printer is right for me?” There are many options out there, so we explain some of the most important features to consider.

The Ultimate 3D Printer Goal?

At the end of the day, we all want a printer that performs well, and lets us bring our ideas to life.

We do not want to “fight” with a printer that doesn’t perform well, and leaves us feeling frustrated.

By understanding the different hardware and software options on the market (and how they affect your printer’s performance), you will be able to compare them for yourself and decide which 3D Printer is best for what you want to create.

Things to Consider

  • User Interface

  • Build Volume

  • On-Board Camera

  • Fully Assembled vs Kit

  • Self-Leveling

  • Removable Magnetic Build Plate

  • Pre-Installed Software

  • Fully Automated Operation

User Interface

The user interface is what you will be looking at every time you use your 3D printer. It allows you to start prints, and control all your printer settings.

On many affordable 3D printers the User Interface is an afterthought, or simply an open source option.

Since the user interface is a place that you will spend a lot of time, it’s important to ask yourself a question when considering a 3D Printer… Is the User Interface pleasant to use?

The Mantis 3D Printer has a proprietary user interface that is simple, clean and easy to use! It has everything you need to start a 3D Print, and enjoy the process while doing so.

For expert users, all of the advanced functionality and control is easily available “under the hood”… but for most users our “Just Press Print” user interface is all they ever need to worry about!

Build Volume

Build volume refers to the maximum size your 3D Printer is capable of fabricating.

Typically, you want a printer that provides maximum build volume without taking up too much space, or driving price way up!

While 6” x 6” x 6” is adequate for most hobbyist 3D printing, having a larger build volume provides more freedom to create.

The Mantis 3D Printer has an 8” x 8” x 8” build volume, one of the biggest in its class! This additional build volume affords much greater design freedom, without breaking the bank.


On-Board Camera

Premium desktop 3D Printers often include an on-board camera.

An on-board camera allows users to take time-lapse videos of their prints, as well as check on a print-in-progress from another room!

Both of these features are very useful to have.

The Mantis 3D Printer has an on-board camera, just like its much more expensive competitors. This is one of the reasons the Mantis 3D Printer is such a compelling value.

Fully Assembled vs Kit

Do you want to assemble a kit from scratch, and build your own 3D Printer? Do you want to fine-tune a 3D Printer after it’s assembled?

For some, the thought of building and fine-tuning a 3D Printer sounds exciting!

For many other users, they prefer to simply buy a product that works right out of the box.

Each Mantis 3D Printer is fully assembled, and fine-tuned by our talented staff before it leaves our factory. This saves time, frustration, and leaves you ready to enjoy your 3D Printer from the moment you open the box!

Self-Leveling

In order for your 3D Printer to perform its best, the print bed must be properly leveled before use.

Many desktop 3D Printers require you to manually adjust and level your print bed using wrenches or thumb screws.

While this method works, it is time consuming and requires the user learn a great deal about how their printer’s adjustments work.

The Mantis 3D Printer completely automates the bed-leveling process. It has an intelligent probe that senses the precise position of the bed, and maps any discrepancies in bed level. The onboard computer is then able to compensate for these discrepancies to ensure a high-quality print every time.

This time-saving feature makes a massive difference in real-world performance, and makes the Mantis 3D Printer a joy to use!

Removable Magnetic Build Plate

Many printers require you to prep the print surface with blue painters tape, disposable sheets, hair spray, or some other method of promoting adhesion.

Once a print is complete, finished 3D Prints must then be pried off using spatulas and/or fingertips.

This process has been a frustrating pain point for years.

The Mantis 3D Printer has a removable magnetic build plate that makes life easy! The build plate has a special textured surface to ensure excellent adhesion without the need for any aftermarket solutions.

The Mantis 3D Printer makes removing 3D Prints a breeze as well. Simply pick up the removable magnetic build plate, and flex the sheet in your hands.

This gentle flexing of the spring steel sheet will “pop” your parts right off!

To reset, simply return your build plate to its original position, and the magnet will secure it in place. You are ready to start your next print.

Software Pre-Installed

Most 3D Printers require you to download several different software programs before you can start printing.

Functions like .STL File Repair, Slicing, and Controlling Printer Settings each required you to download and learn to use a unique piece of software.

The Mantis 3D Printer has resolved this headache by pre-installing all the required software on the onboard Rasberry Pi micro-computer!

Having all the software pre-installed saves time and frustration, and allows you to start using your 3D Printer right away.

Not only is all the required software pre-installed, but it’s fully automated to make life even easier.

Fully Automated

Historically, desktop 3D Printers required you to go through 10 separate steps before you can 3D Print your part.

It was up to a user to understand the various steps involved, making the learning curve for new users very steep.

The Mantis 3D Printer makes 3D Printing easy by automating all of these complex steps.

On the Mantis, a new user has to 2 simple steps to learn.

  1. Select your file

  2. Press “print”

From there, the Mantis handles everything else.

Your file is automatically repaired, oriented and sliced. The G-code is fed to the printer as everything comes up to temperature.

All of the temperature and extruder feed settings are optimized at the factory to ensure great performance.

The printer will even perform a 9 point bed check to ensure the bed is correctly leveled, and automatically compensate if necessary!

All of this action happens flawlessly and automatically in the background, as a new user watches their part come to life without having to worry about the underlying process.

The Bottom Line

There are many great options out there if you’re in the market for a quality desktop 3D Printer. By understanding how technical features affect real-world performance, you are better able to decide which 3D Printer is best for you.

If you have more questions about the Mantis 3D Printer, we invite you to watch this video from our Founder, Joe Sinclair.


How 3D Printing Works?

We’re often asked by new users,
“How does 3D Printing really work?”

We wanted to take a moment and explain so you can better understand how the Mantis 3D Printer functions.

Mantis_Printer_1.png

Types of 3D Printers

There are a few different types of 3D Printers. Some print in UV cured resin, some print in plastic powder, some use advanced lasers to weld metal and cost over a million dollars… we’ll save all that for another day.

For hobbyist use, the most common class of 3D Printer is called “Fused Filament Fabrication”.

The Mantis 3D Printer is a Fused Filament Fabrication (FFF) 3D Printer, and uses plastic filament to fabricate designs in 3D space.

quick version: How does it work?

To use a simple analogy, the Mantis 3D Printer is basically a computer controlled hot glue gun.

The big difference is it melts down plastic, instead of hot glue…

Hot glue gun, where the “Hot Tip” melts glue

Hot glue gun, where the “Hot Tip” melts glue

FFF 3D Printer, where the “Hot Tip” melts plastic

FFF 3D Printer, where the “Hot Tip” melts plastic

The computer provides extremely precise control over the position of the hot tip, and allows us to extrude molten plastic at a precise calculated rate. We extrude plastic as we move the tip around, to produce the shape we want.

To a new user watching the process, it looks like the tip moves around the surface of the build sheet, “drawing” a shape in plastic.

When that layer is complete, the print bed moves down a small amount (typically 0.2mm on a stock Mantis 3D Printer) and begins extruding plastic on the next layer.

Layer by layer, a part is built up in 3D space.

Here’s a short video to better illustrate the process.

Why is it important to know how FFF 3D Printing works?

Once you understand how your part is going to be fabricated, it allows you to begin thinking about design differently.

This layer-by-layer fabrication methodology has many advantages and a few limitations to consider… the better you understand how the process works, the better off you will be!

If you’d like to learn more, we invite you to check out this past blog post. It highlights a few rules regarding “unsupported overhangs” and will provide additional context to the information we have here.

An example of an unsupported overhang. This resource below provides more information, and solutions.

An example of an unsupported overhang. This resource below provides more information, and solutions.

If you have any further questions, please reach out we are happy to help!

We hope you enjoy your journey into 3D Printing.


How to 3D Print Highly Complex Parts using G-Code Injection

The Mantis 3D Printer has been built from the ground up to be the world’s easiest to use 3D printer.

The entire 3D Printing Process consists of 2 Steps… Select your file, and press “Print”.

With that said, there are advanced users out there who may wish to get “under the hood” of their Mantis 3D Printer to optimize the printing of highly complex components.

This resource helps clarify the process, and points out some of the key things to consider.

What do we mean when we say “Highly Complex Parts”?

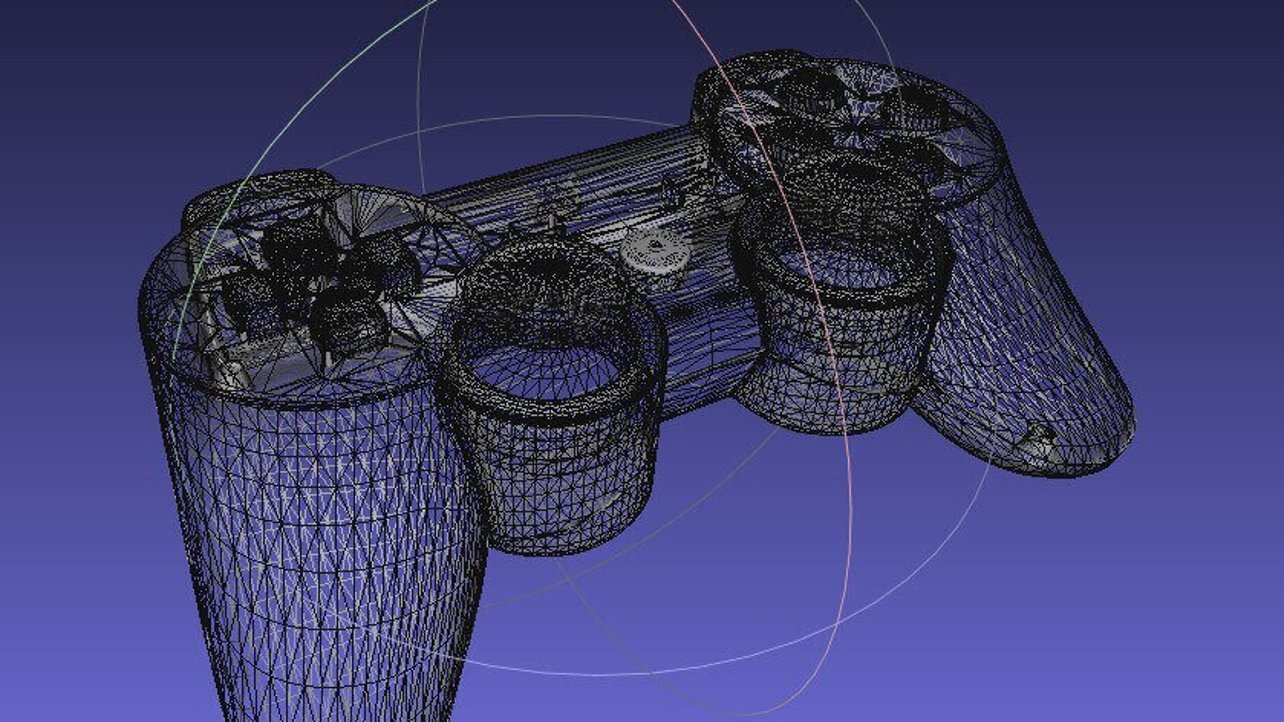
In simple terms, we are referring to how many triangles a 3D model is made up of, not the physical size or shape.

3D models are saved as “.STL Files”, and .STL files are comprised of nothing more than tons of very tiny triangles - the more triangles that need to be calculated and processed, the more complex the job is for the printer.

A Playstation controller, saved as an .STL file and represented as triangles

A Playstation controller, saved as an .STL file and represented as triangles

For example, imagine a triangular pyramid sitting on the print bed. It is a simple 4 sided object, and geometrically is simple for the Mantis 3D Printer to process and print.

For example, there are only 4 triangles in each of these examples above

For example, there are only 4 triangles in each of these examples above

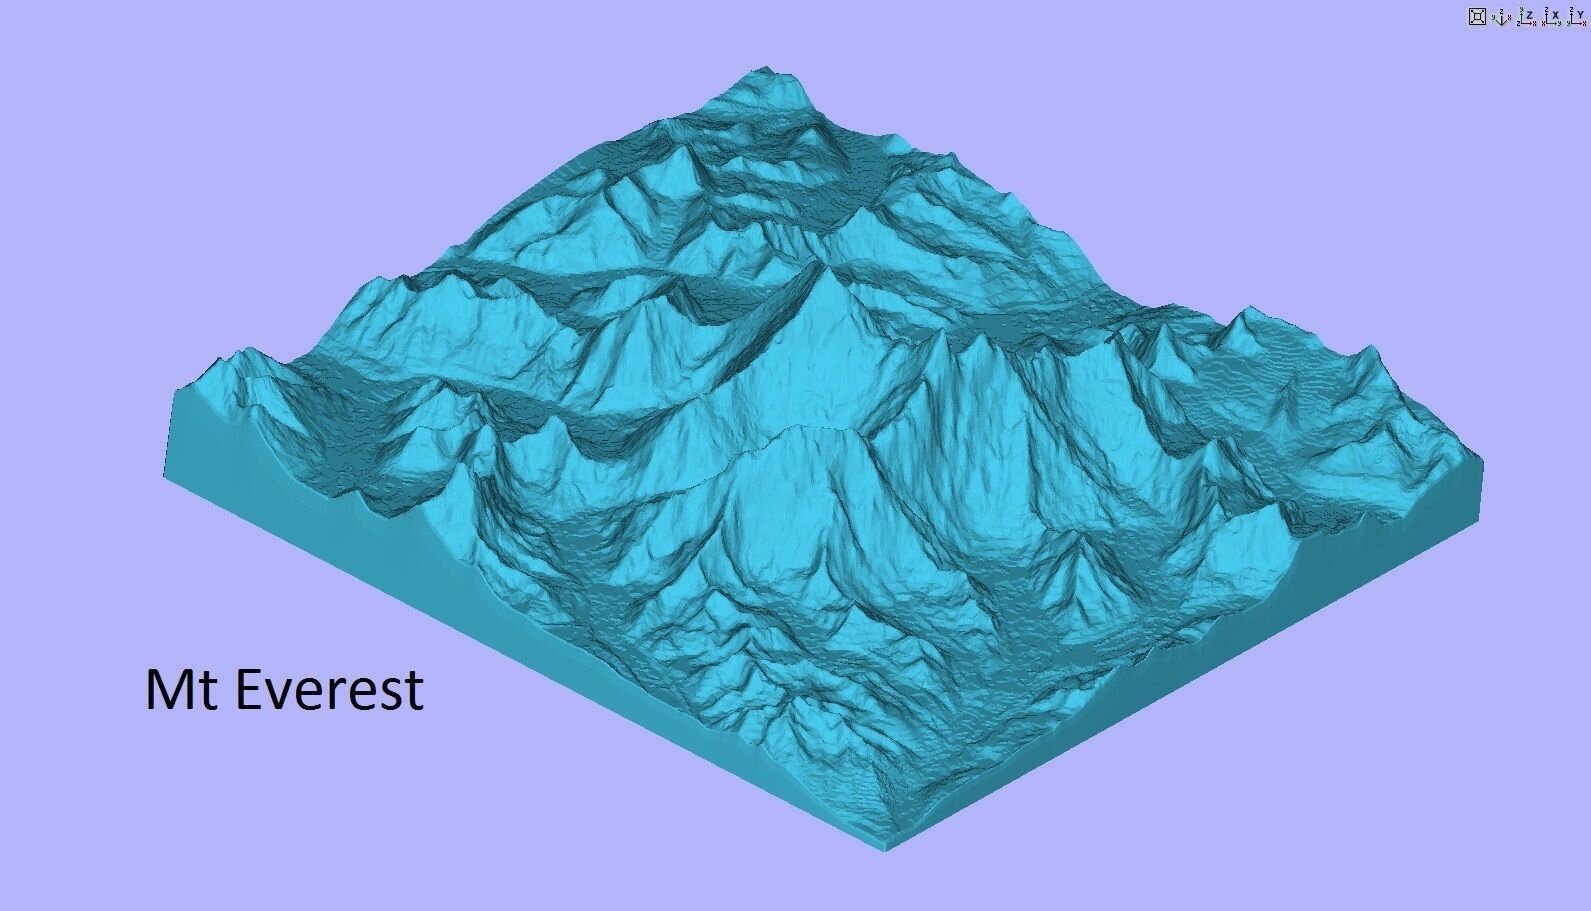
Now imagine 3D Printing a highly detailed model of Mt. Everest… there would be many different nooks and crannies, dips and dives… changes in curves, planes, and elevations… all of these variations require more triangles in order to be accurately depicted.

mount-everest-3d-model-for-cnc-and-3d-printer-3d-model-obj-mtl-stl.jpg

This castle is another example of a 3D Model that is “highly complex” because it requires so many triangles to accurately depict the design… in this case over 1.6 Million triangles!


What happens when THE MANTIS IS printing a highly complex model?

Since the Mantis 3D Printer is powered by a Raspberry Pi micro-computer that is pre-loaded with all the needed software… there is no need for an outside processor.

But if the file you wish to print is geometrically complex with many triangles, it may take a long time for the Mantis to successfully process the file for printing. In extreme cases, the Mantis may even time out while trying to process excessively complex .stl files.

There is a simple solution though…

Using G-Code Injection to Print Highly Complex Parts

If you are an advanced user, and wish to optimize your Mantis 3D Printer for your specialty application, you may consider G-Code injection.

By preparing your 3D Model in your favorite software programs and creating G-Code on a more powerful computer than the Raspberry Pi, you can save time and have more control over how your highly complex parts print.

Once you have created the G-Code in your favorite slicing program, the G-Code can be uploaded directly into the “Back End” of the Mantis 3D Printer.

By preparing your G-Code manually, you are able to yield more consistent and controlled results!

Software Recommendations

If you wish to pursue this route, we recommend using the 3D Model Software, Cura.

In these two videos, we explain what Cura is, how to install it, how to create Cura profiles for your Mantis 3D Printer, how to use it to prepare 3D files, and how to upload G-Code via Octoprint to your Mantis 3D Printer.

Please note, this is for advanced users only! If you have any questions, please reach out before you begin.


Cheap vs Quality: How Filament Choice Affects Your 3D Prints

Have you ever wondered why certain brands of 3D Printer Filament are dirt cheap, and others seem more expensive?

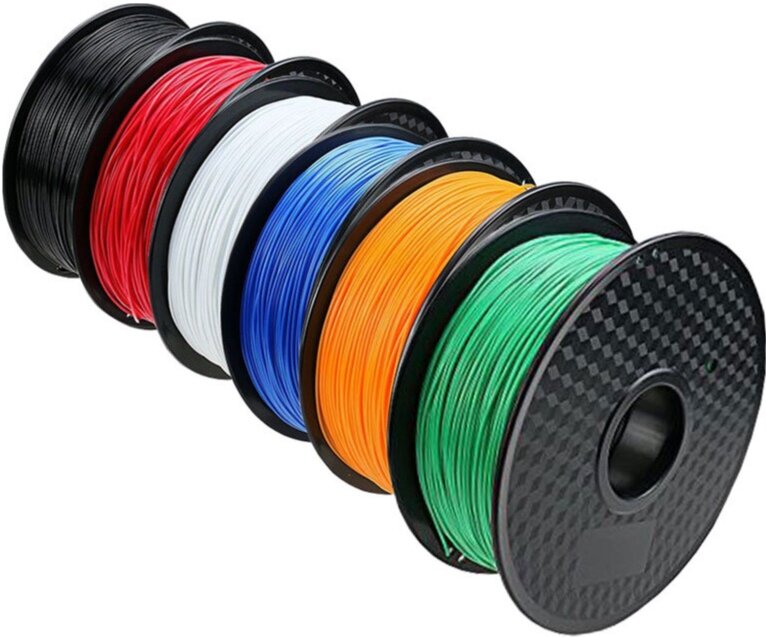
3D-Printer-Filament-PLA.jpg

Are they all the same?

Does the expensive stuff really outperform the cheap stuff?

If it’s all the same polymer… why does it matter which company makes it?

We are here today to clarify a few of those points, and help you make the right decision about filament for your 3D Printing application

Does the Quality of Your Filament Matter?

Short answer… Yes!!!!!

The quality of your filament will directly affect the quality of your 3D Prints.

Your Mantis 3D Printer feeds plastic filament to the “hot tip” using a dual gear extruder. The speed at which your extruder feeds filament is critically important to the quality of your prints!

Too much or too little filament being delivered would pose massive problems!

Our machines are finely tuned with the correct feeds/speeds to enable optimal printing when using 1.75mm Plastic filament… but if all that’s the case… why does quality matter?

Isn’t all “1.75mm filament” the same? Short answer… No, it’s not!

The Devil is in the Details

Plastic filament is extruded using massive, industrial machines. Each manufacturer has developed their own process and recipe for extruding filament.

What goes into their "filament recipe” is up to them, with very little regulation.

Quality manufacturers ensure the polymers they’re extruding are optimal for consistent 3D Printing performance!

The budget manufacturers…. not so much. They care more about the cost of their recipe than the actual printing performance.

Another major factor is the Tolerance the manufacturer holds as they extrude filament.

Quality filament manufacturers are able to produce very close tolerance filament!

In layman’s terms… the diameter of your 1.75mm filament is very precise and consistent along the entire length of your spool.

This means our dual-gear extruder will deliver filament to the hot tip at the correct consistent rate, because the diameter of the filament is consistent.

Budget filament manufactures may cut corners in their extrusion process to maintain a low price point…

For example, they might setup their machines to extrude more filament per hour… but at the cost of looser tolerances, and more variation in filament diameter along the length of the spool. This variation in diameter lead to variation in filament delivery, and negatively affects the quality of your 3D Prints.

Even the Packaging & Shelf Life matters!

One often overlooked aspect of 3D Printer filament is how it’s packaged, and how recently it was manufactured.

Plastic 3D Printer filament is extremely susceptible to changes in moisture level!!!

For example, leaving your filament outside in the rain overnight would be catastrophic for the filament, and performance of your 3D Printer.

Additionally, polymer filament instantly begins degrading once it is extruded. Storing in an oxygen free environment helps prevent rapid degredation, and will allow maximum shelf life.

Quality 3D Printer filament manufacturers will extrude filament on a regular basis, selling customers “fresh made” filament.

They will package their high-quality filament with desiccant bags to keep moisture out of the filament, as well as vacuum-seal their filament to ensure it arrives with the highest quality and longest shelf-life possible.

Cheap filament brands will produce massive quantities of filament at once!!! It can sit on a warehouse shelf for months, or even years! It is often ship in a cardboard box, with no protection from moisture or the ambient environment.

The Bottom Line?

It truly pays to invest in the good stuff!!!

If you care about the quality of your 3D Prints, invest in a quality 3D Printer filament!

It will yield better performance, more consistent prints, and better overall quality.

We recommend using Overature brand PLA filament, as we have found it’s an excellent value for the money. It’s high quality and affordable. It’s what we choose to run on our own fleet printers, and we ship one full spool of Overture PLA filament with every printer we ship!

Best of luck as your 3D Printing journey continues, and we hope we helped clarify why the quality of your 3D printer filament matters!


Understanding “Overhangs”: How to select files for 3D Printing

In this post, we teach “what to look for” when looking for 3D-Printable files on Thingiverse… and explain the most important rule of all…

Rule #1: Avoid “Unsupported” overhangs

An “unsupported” overhang, and the disaster it causes (right)

An “unsupported” overhang, and the disaster it causes (right)

You can (and SHOULD) choose files that can be 3D Printed without support material. Why do we need to consider overhangs, and what do we need to look for while browsing Thingiverse?

Why do we need to consider overhangs?

3D Printers fabricate objects layer-by-layer, building on top of the previous layer.

Keeping this in mind, we must have a surface on which to place the next layer as a design is fabricated by the 3D Printer.

If a design leaves an area “unsupported” - a.k.a.” Printing On Top of Nothing” - you will run into issues with stringy-prints, like in the photo above.

As a general rule, overhangs are safe up to approximately 45 degrees before the issue arises.

What does it look like?

Let’s think of a Martini Glass and a Mushroom as an example to plant in our brains.

 
A “Supported” Overhang

A “Supported” Overhang

An “Unsupported” Overhang

An “Unsupported” Overhang


Looking at the Martini Glass, notice how the edges of the glass “step out” at a 45 degree angle from the top of the stem?

This shape will print well because it gradually steps out from the layer beneath it. Your 3D printer will have a solid surface to build the next layer upon.

Now let’s consider the Mushroom…

The stem of the mushroom will print fine… but once the nozzle goes to print the mushroom head… it will be printing on top of nothing, and this is where the problem manifests.

By carefully selecting your design when browsing Thingiverse files, you can avoid all the frustration of printing a design with an unsupported overhang.


Other Helpful Rules

Rule #2: Consider the physical size of the design

Your Mantis 3D Printer has a robust 8”x 8”x 8” build volume. This is a very useful size for the majority of models you’ll find… with that said, the printer can’t handle parts larger than its build volume.

Make sure to consider the size of parts while you’re selecting them on Thingiverse.

Rule #3 - Consider the File-Size of your chosen model

The Mantis is designed to fully automate the file preparation and printing process. With that said, our algorithms run on the micro-computer that lives on the Mantis. This microcomputer, known as a raspberry pi, is only so powerful - complex models can take longer to process. A good rule of thumb is to print models that are less than 50 mb in file size to minimize processing time. Large files that take too long to process may trigger an error message.


Keeping these rules in mind and, most importantly, by avoiding “Unsupported Overhangs”, you will get the most enjoyment from your Mantis 3D Printer!

If you’re ready to begin searching now, here’s a link to thingiverse:

www.thingiverse.com